
After each piece had gone through its first 2 steps towards completion, they were collected by Adam, who welded them together according to our designs for the mounts. Because the welding process creates extruding beads along each edge of the pieces, they must all return to the grinder after being welded so they can be in accordance with the exact measurements necessary for the mounts.

After this process had been done on each bracket, we had a collection of pieces ready for application into the car. Though not all pieces have been completed as of now, it is certainly satisfying to see the product of our progress and effort.
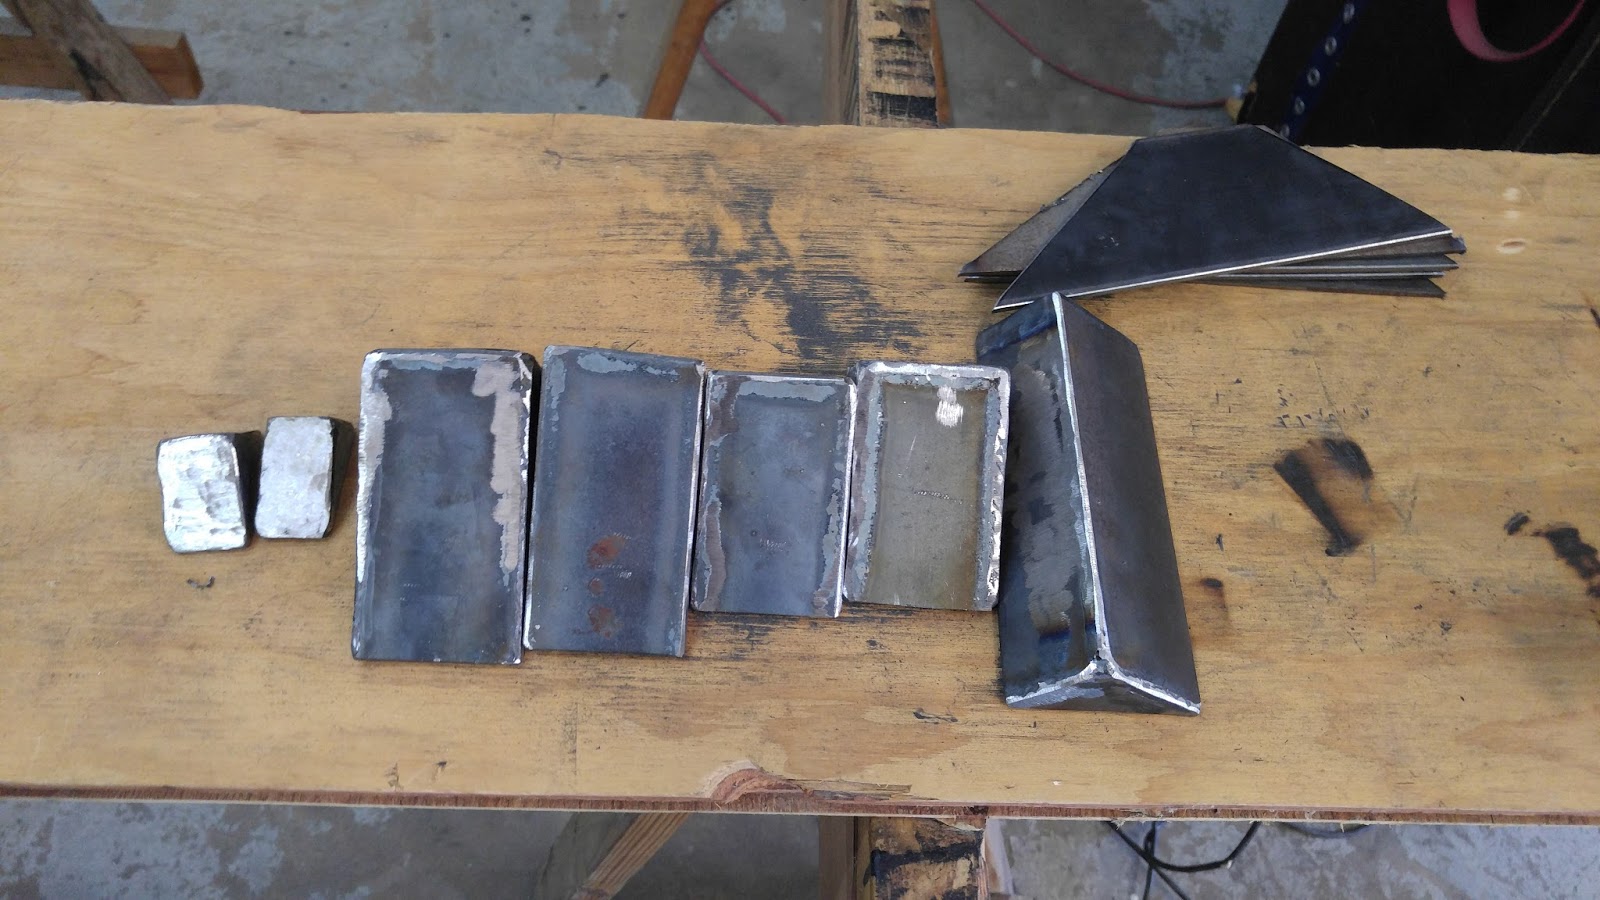 |
| Some of the completed pieces for our motor mounts |
The second project we worked on today was the interior carpets of the car. This has been a known issue for a decent amount of time, but North, Julian, and I finally decided to tackle it today. We took the carpet out to the side of the building, powered up the pressure washer, and used extensive amounts of the "Purple Power" spray to clean off the mistreated mats. After letting the carpet air-dry in the sun for most of the day, it is certainly not like new, but it is already looking much better than when we pulled it out, and our work is not done yet.
 |
| The interior carpet hanging out to dry after being cleaned |
The final task we took on today was beginning to remove the blue tint on the back window that the group had realized earlier was almost impossible to see out of from within the car. In order to do this, North and I sat in the trunk of the car and used razors to slowly remove the blue plastic. After we'd removed most of the surface area of the tint, we used the same "Purple Power" spray from before to get off the glue and other surface scratches from the inside of the window. There is still some more plastic to remove around the edges of the window, but we have high hopes for how it will look when everything is done with.
No comments:
Post a Comment